

This build is based on pre-release files. It may not reflect the release build exactly.
Some small changes and modifications are anticipated.
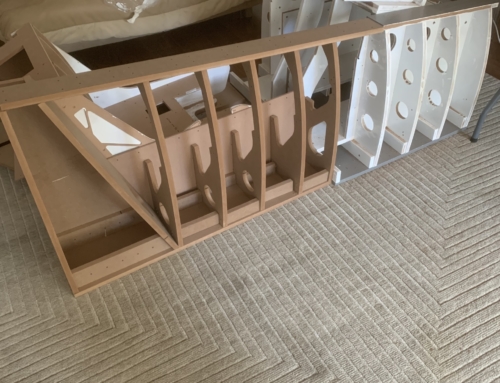
Painting
Before painting the structure I disassembled the right console and all pieces that weren’t already primed. I decided to send the parts in to be painted as it was taking way too long for me to do it and the results were just ok.
The pats each got 2-3 coats of primer and 3 coats of color. I’m very happy that I chose to have the parts painted by a professional as they’ve come out really nicely.
After completing the structure I touched up where the paint was scratched from the assembly.
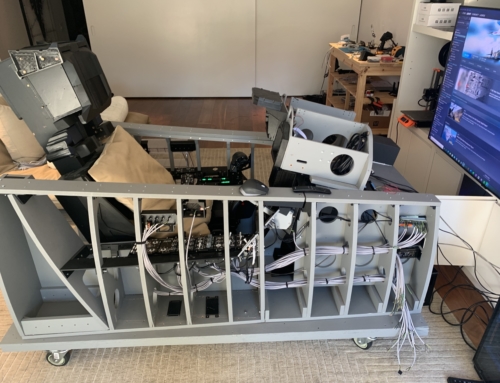
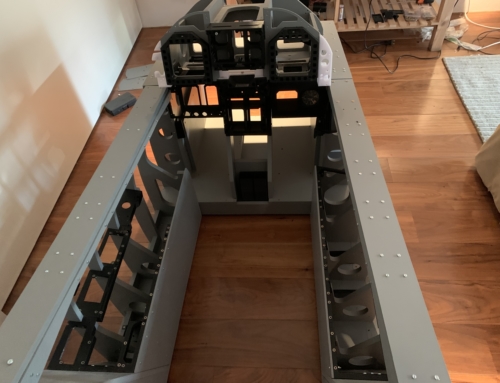
Structure
After painting I starting assembling the structure. Using the assembly guides in the release folder I put together the seat, LIP, and UIP. Using the assembly manuals was super easy. For the left and right consoles as there are no assembly guides I just used the CAD model reference. The left console came out great while the right console came out nicely but has a few blemishes. The wood did crack on one or two parts but I just filled them with wood putty. Be sure to use the correct floor piece for the correct consoles, they look very similar!
Future
I’ve finished the 3D printing for the UIP & seat, knowing when to use a .6/.8 nozzle is super important as it cuts down the printing time greatly and it doesn’t really matter if you see more layer lines on the hidden parts. After seeing Ben-11s incredible work I’m going to be buying a Phrozen Sonic 4k Mini to print the switches, gauges, and more detailed parts.
A log of the seat’s final construction will come out in the next few weeks and all of the panels and PCBs should hopefully arrive around that time as well so I can start putting them together.
A massive thank you to the OH team for their incredible work and particularly to L.Walker answering my stupid questions 🙂


Leave a Reply