
This build is based on pre-release files. It may not reflect the release build exactly.
Some small changes and modifications are anticipated.
Introduction
I started my search for a replica Hornet simulator that I could build with openly available plans and would, relatively speaking, not break the bank. After some research, I stumbled upon OpenHornet.
Throughout my building experience, I will be documenting it in this log from step 1 until completion.
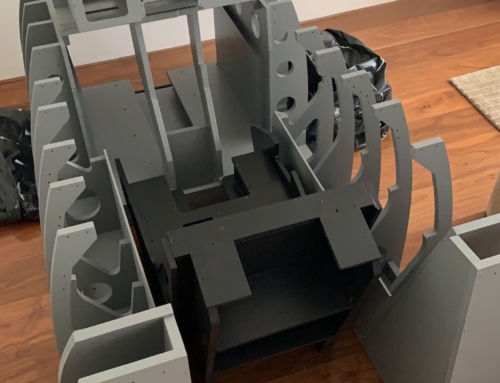
Structure
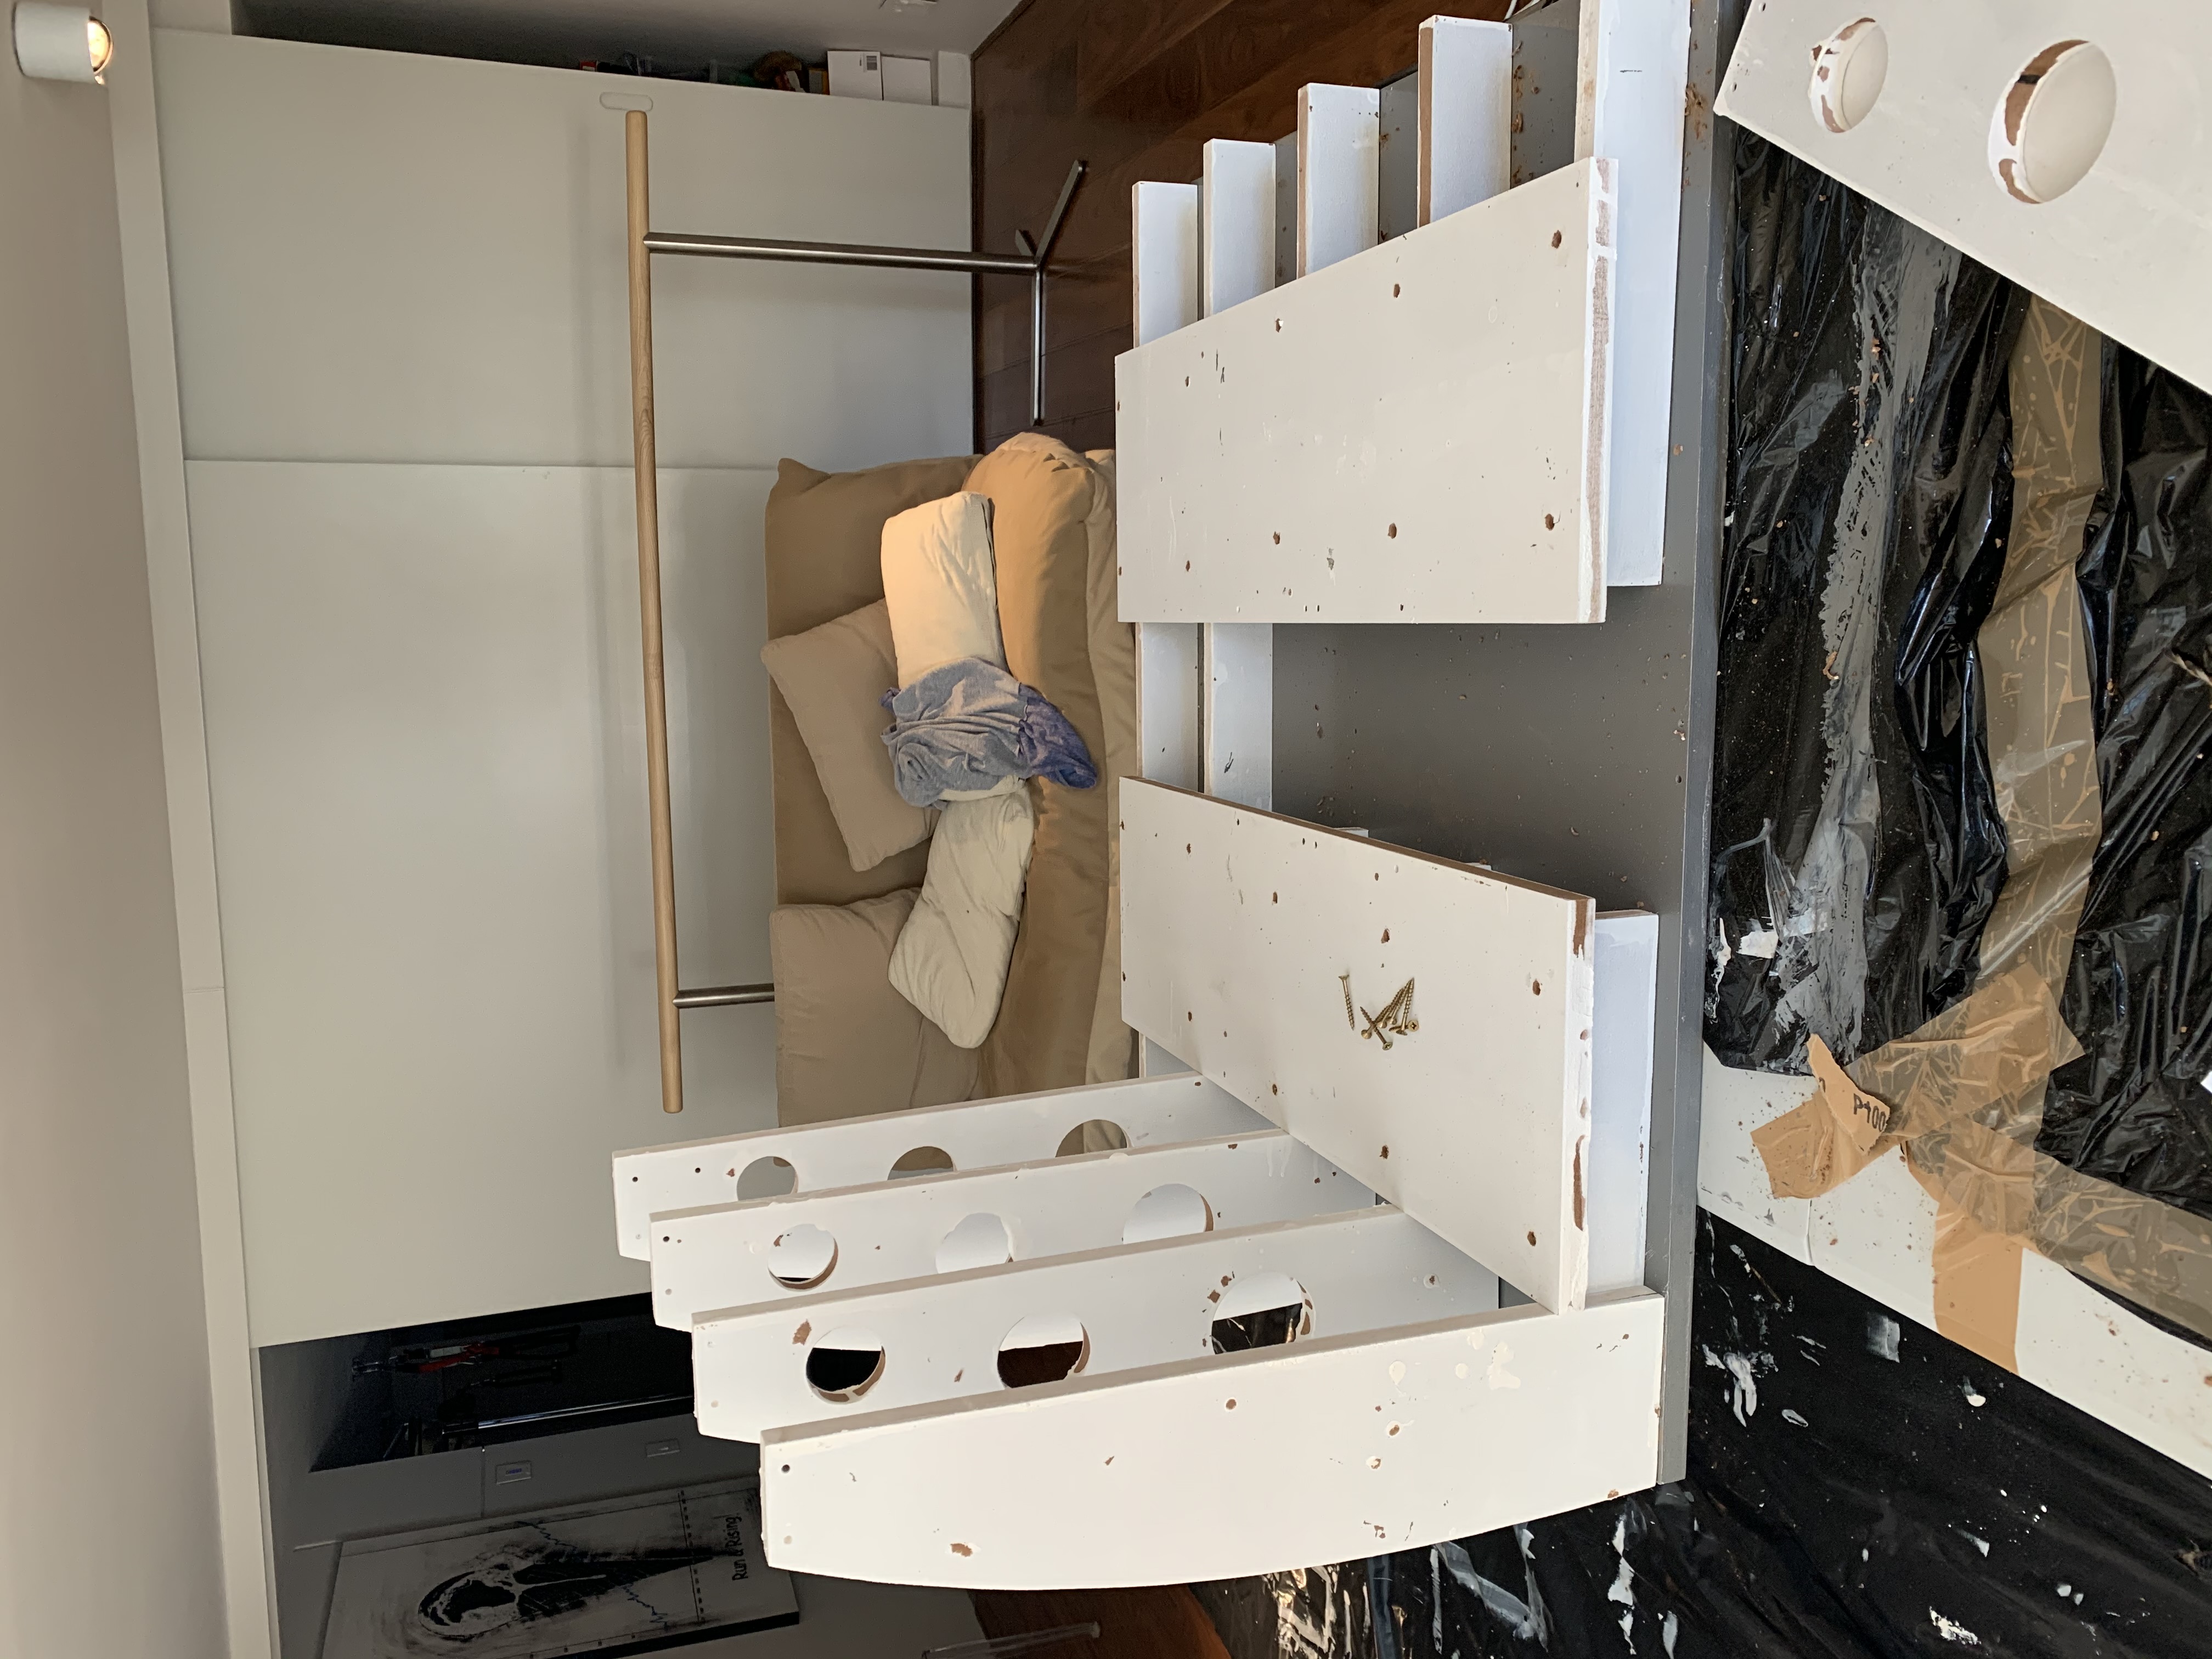
With the help of L.Walker, I was able to send the DXF files through to a local CNC shop. In a few days I had all of my structural components. I began painting the structure starting with 3 coats of primer, I did three coats as when MDF even sees water it swells up like a sponge. Admittedly I couldn’t be bothered to do the further two coats of colour and so will rather be spraying the structure in colour once it is complete.
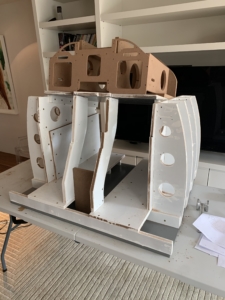
After painting it was off to the workshop to begin assembly. I started with the Lower Instrument Panel (LIP) as there were schematics on how it should be built. The schematics were very helpful in the construction. My only concern was if the LIP would be flimsy but it turned out strong. I didn’t encounter any problems during assembly of the LIP. The only thing that is a necessity when building would be a couple of clamps to hold pieces in place. I haven’t order my 3D printer yet and so have not been able to fit two pieces to the LIP but they are not essential to the structure so its not a major issue. I’m still deciding whether to get the Prusa i3 MK3S+ or the Creality CR-10S V2, currently I’m leaning towards the Prusa but availability and import duties in South Africa are a problem.
The LIP was shortly followed by the Upper Instrument Panel (UIP). The building process was quick and painless although I did encounter a bit of splitting in one of the pieces because I didn’t drill the guiding hole, completely my fault.
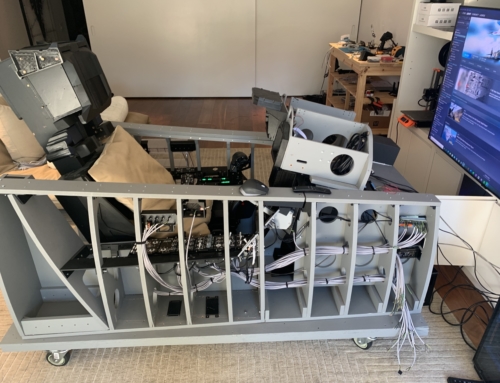
After construction of the LIP and UIP, I started work on the seat. The seat was a bit more difficult to construct but did not present any major problems. As I don’t have the 3D printed parts I can’t begin construction of the Parachute Container. I’m still deciding on what fabrics I’ll use for the seat cushion, I’ve also looked into doing a netted seat but I think I will first try just by using a cushion.
A short while later I started building the right console. The right console was very easy to construct. The only “modification” I had to make was trimming the rib that lies horizontally so that it would sit flush with the floor piece. I’ll have to disassemble it as it does not have primer on it but that shouldn’t take too long.
Unfortunately, I had to stop construction there for the time being but will be back priming the right console and constructing the left console in the next few days.
Conclusion & Future
I’ve really enjoyed the build so far and am excited for what the future holds not only for my cockpit but for OpenHornet. Kudos to the team they’ve done an incredible job thus far.
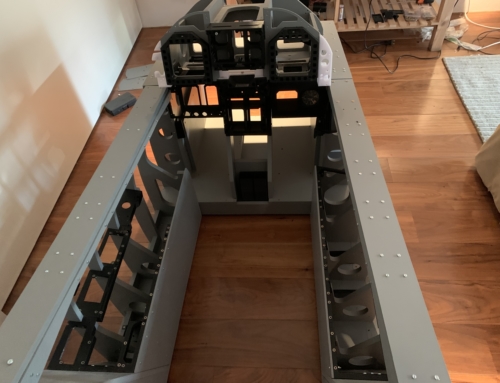
I’ve managed to acquire a real landing gear switch from an RAF Tornado off Ebay. I’ll be designing a bracket to fit it to the cockpit super structure as the actuating force of the handle is greater than the future acrylic panels will be able to hold. I’ll be getting my 3D printer soon so that I can start construction the UFC, DDIs and other parts.
There’s a long long way to go with this project. In the next few days I’ll have finished the structure and painting in primer. All of the electronics should arrive around February. The OH project is designed around using Arduinos. I’ll be using Leo Bodnar 64 Bit BBIs for the left and right consoles where applicable, I will also try to integrate them into the DDIs as I don’t solely fly the Hornet. I’m also considering using the OpenHornet ABSIS boards. Other than that everything will run on Arduinos.
If you have any questions feel free to DM me on Discord (Lazarus on the OH Discord) or leave a comment!


Leave a Reply